

Quick start
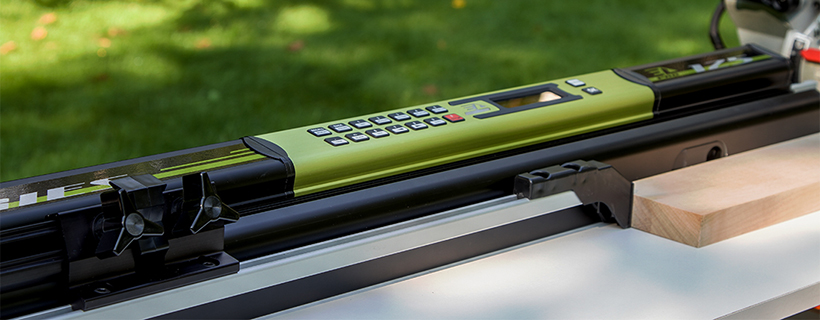
Digital ruler with a motorized stop
Simple, Fast, Exact... Start using your EXACTLENGTH PRO ruler quickly by following the steps below.
CAUTION: This "Quick start" procedure covers only basic installation in which the stop goes up to the saw blade and a marker is not required to run the setting to zero.
First, proceed with the installation of your ruler and adjustment of the stop by following the steps described in the "Installation" section of the user guide. You can also view the "Installation of EXACTLENGTH PRO" " video available on our website and on YouTube.
When your ruler is installed on the work table, you must connect it. At this point, for safety reasons, it is very important to make sure that the saw is unplugged and in the upright position so that the blade is not in the stop track.
You are now ready for the first use of your EXACTLENGTH PRO ruler. Throughout the procedure, make sure you follow and validate the indications on the LCD display of your ruler.
At power-up, the ruler will execute its initialization process. By pressing on the OK key once, the stop will move to the extremity of the ruler. Verify that all the saw angles are at zero. Make sure that the stop exceeds the blade about a half inch, otherwise repeat the installation steps.
Press on "no" when asked to choose if the setting to zero is to be done with a marker because it’s a basic installation. Subsequently, lower and block the saw in a safe manner with the help of the lock of the latter. Now press on the OK key twice while carefully following the instructions on the display. The stop will move up to the blade to register its position thus completing the setting to zero basic. A fine adjustment is also available to correct the lateral movements of the blade to make your ruler even more accurate. This procedure is available in the user guide as well as in the video “Setting to zero basic”.
You can now power up the saw and begin to cut.
Simple, Fast, Exact
EXACT LENGTH PRO in 3 steps
EXACTLENGTH PRO
LED status indicator light
Step 1
Step 2
Step 3
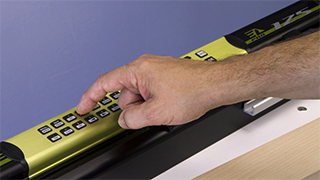
Input
Enter the cutting value on the keyboard
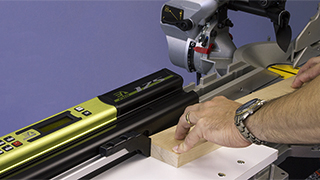
Place
Press the workpiece on the stop.
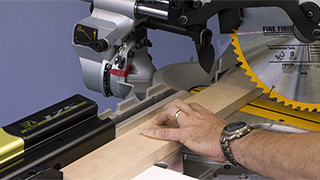
Cut
Make the cut
Red
Orange
Green
Red
Red indicates that the unit met an obstacle or is in standby mode.
Orange
Orange indicates that the stop is moving or that the unit is in the entering input mode.

Vert
Green indicates that you can make the cut. The stop is then in hold mode and locked.
Exactlength Pro
1165 Lomer-Gouin #1040
Quebec, Qc.
Canada
G1N 1T3
418-682-8383
info@exactlength.com
support@exactlength.com
Click the links below to download PDF
• Download the brochure in French
• Download the brochure in English
• Download the User Guide in French
• Download the User Guide in English
